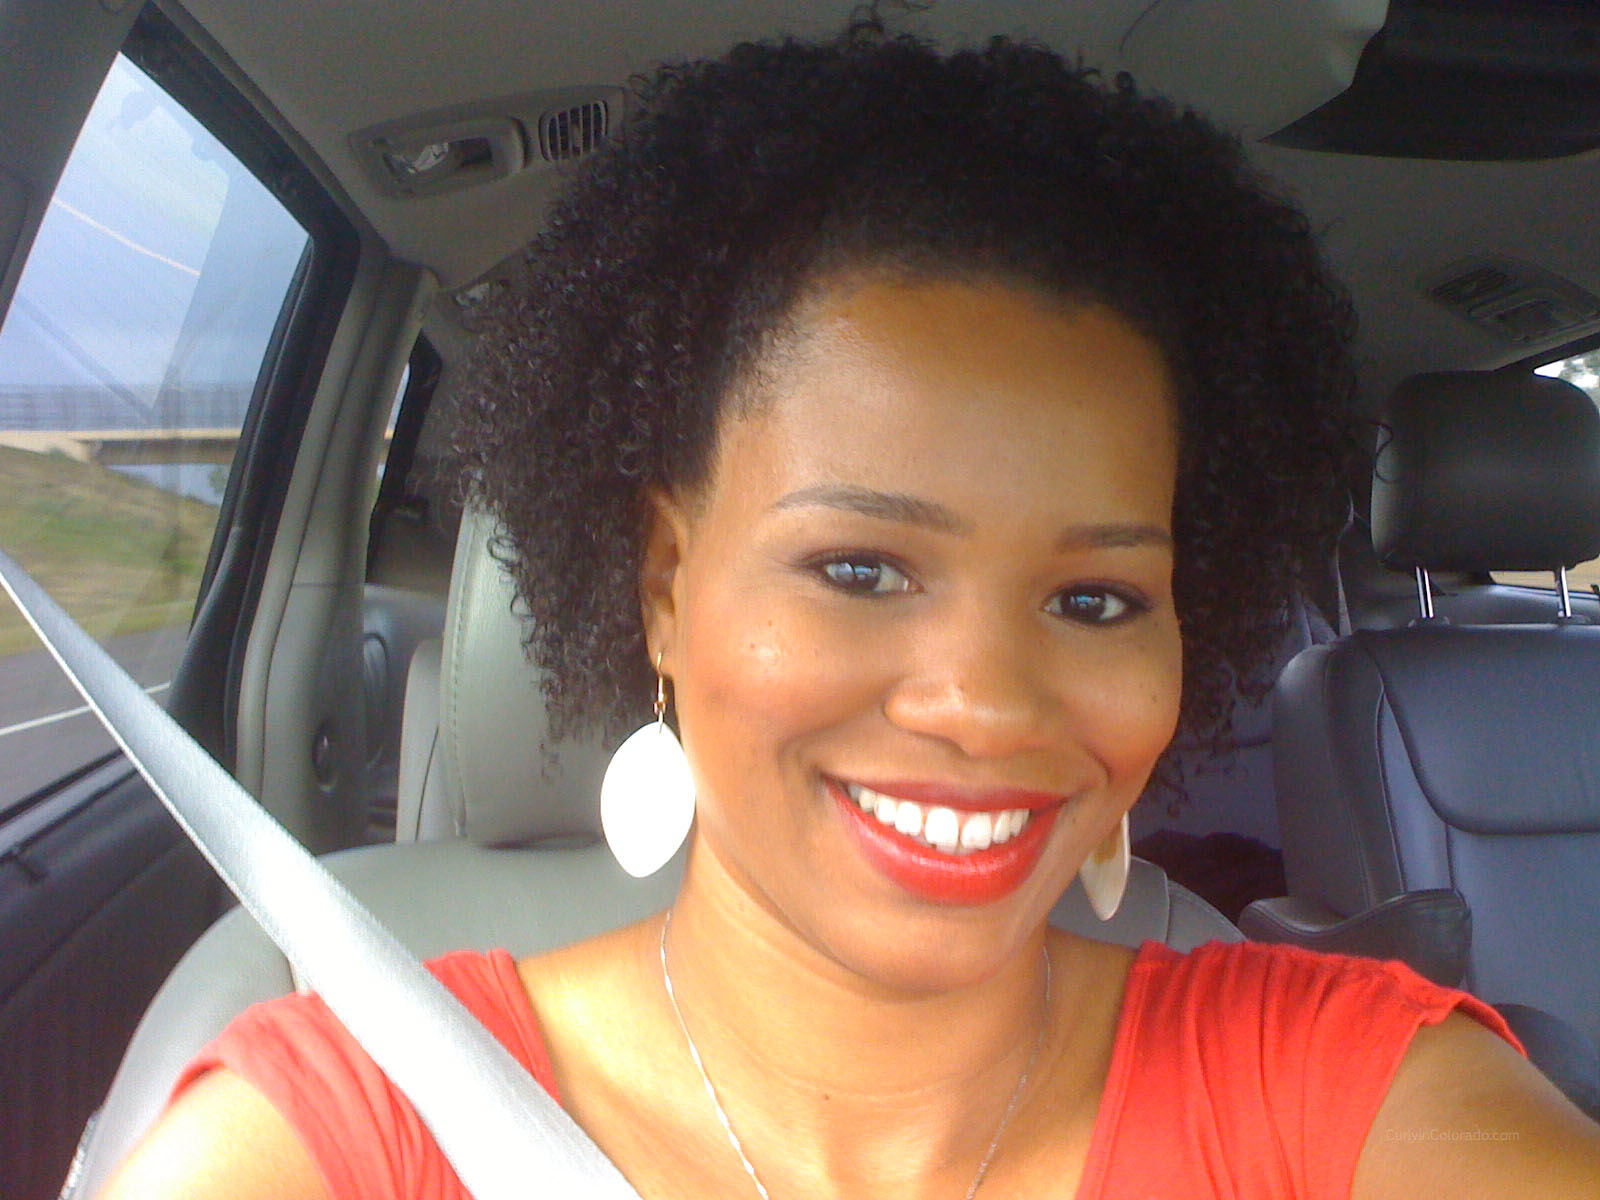
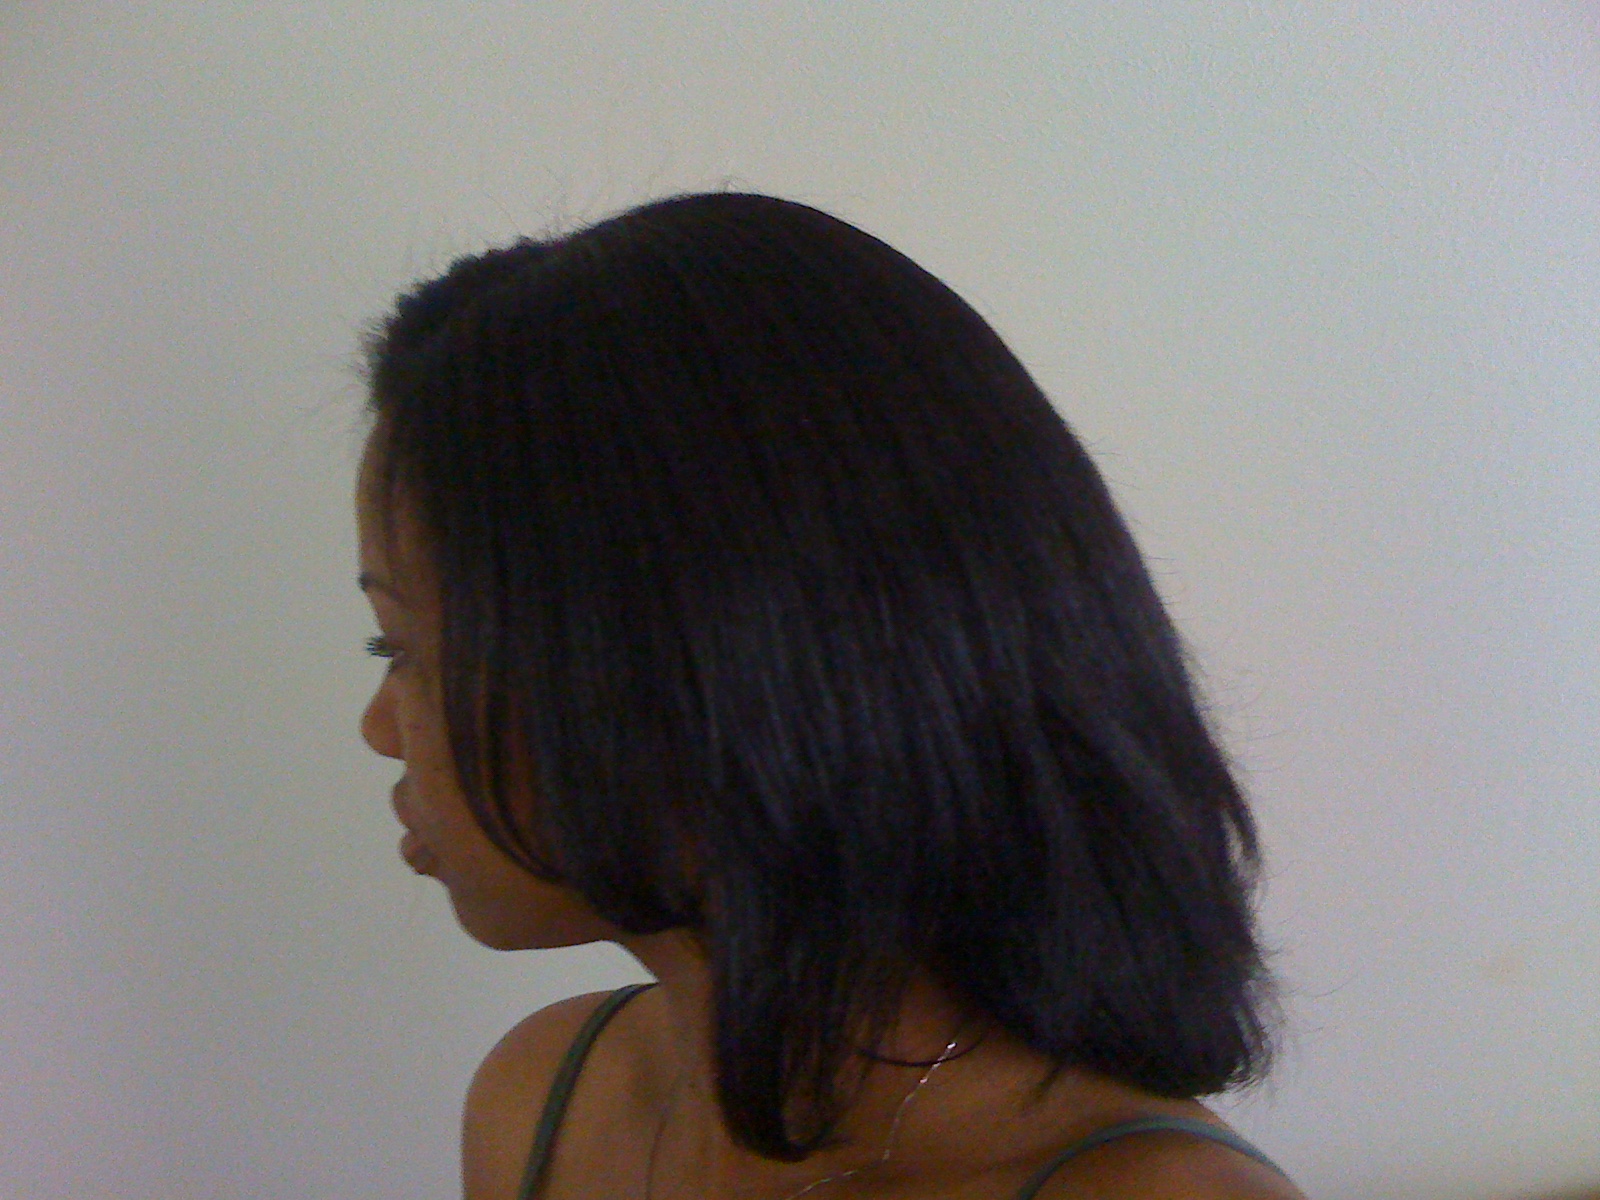
Showing posts with label natural hair styles. Show all posts

Wednesday, March 11, 2015

My Go-To Hair Styles for Working Out

This month I decided to get back to working out regularly.  Since I'm planning on exercising at least  four times per week, there are certain hair styles that I'm thinking will work best for me.  It has been a little over a month since I last straightened my hair but that style is not on my current playlist.  I was able to keep my hair straight for two weeks but I just don't see that happening while doing heavy workouts.  Here are some of the styles I plan on rocking while I'm getting fit this month.

www.curlyincolorado.com Hair Styles for Working Out

The Wash n' Go

I call this style the wash n' go but there is a little more to it than that.  This is when I rock my hair in its natural curl pattern.  I tend to use different products depending on what I have and how much time I want to spend.  Still, I pretty much always use a leave-in conditioner, something heavy to seal and then a hair gel.  You can watch me do this style here.

The Puff

This is fast becoming one of my favorites styles as of late.  I can wear my puff up high, low or somewhere in between and it still looks great.  This is usually my follow-up style after wearing a wash n' go for a couple of days.  My hair already has product in it so I just wet my edges and nape and brush my hair into a puff.  Sometimes I use a banana clip placed sideways while other times I simply use a ponytail holder.  Click the video link below to watch how I do it.

PUFF HAIR TUTORIAL

The Braid Out

This style can be worn up or down and is pretty easy to maintain.  It also is the type of style that looks great when it gets bigger so a little working out won't hurt it.

www.curlyincolorado.com Hair Styles for Working Out
The Braid Out
can be worn up or down
These are the styles that I'm gravitating towards lately but I may throw in a bun here and there.  Either way, it's all about keeping it simple and doing what works best for me.

Friday, February 20, 2015

4 Protective Hair Styles in 4 Weeks

www.curlyincolorado.com protective hair styles

In January I started my own protective style challenge to see if it would help me with length retention.  Normally I enjoy wearing my hair out because I love how versatile natural hair is.  This made it a little bit harder for me to decide on a style for the challenge.  To keep it interesting, I decided to change up my protective style each week.  Here's a rundown of each style I wore for the first four weeks of the challenge.

WATCH ME PREP MY HAIR FOR MY VERONA GIRL WIG BY FREETRESS


Protective Style #1-Synthetic Wig

www.curlyincolorado.com protective hair styles
Verona Girl by Freetress
Synthetic Wig

I've been experimenting with wigs off and on.  I thought that the challenge would be the perfect time to practice my wig skills.  I braided my real hair into two dutch braids underneath my synthetic wig.  I found that this was one of the easier styles.


Protective Style #2-The Bun
www.curlyincolorado.com protective hair styles
Easy Low Bun

Now that my hair is getting longer, I can actually work it into a pretty decent bun.  For me this style works best on stretched hair.  I usually put my hair into a ponytail and split the ends into two sections. I twist each of them then wrap the twists around the base of the ponytail.  Then I use bobby pins to secure the ends.  I really like how this look can be worn for an everyday, casual look or dressed up.


Protective Style #3-The Puff
www.curlyincolorado.com protective hair styles
Low Puff; Low Manipulation

Technically this isn't a protective style.  However, it is low maintenance and keeps my hair off of my shoulders.  After cleansing and conditioning my hair, I detangle my hair and slick it back or up high using hair gel.  I use a ponytail holder or banana clip placed sideways to secure it into place.


Protective Style #4-Dutch Braids
www.curlyincolorado.com protective hair styles
Dutch Braids on Straight Hair

This has been a go-to style for me for ages.  I just part my hair down the middle and do a braid on each side.  In the picture my hair was straightened but this look also works on wet, damp or stretched hair.

With each protective style I like to smooth my edges with Eco Styler gel which is a staple for me.  I also found that my hair needed heavier moisture for styles that are meant to last a whole week.  I think my favorite was actually the puff style.  My ends were out but it took the least amount of effort.  Overall, my first four weeks went well.  I'm planning on going for another four weeks wearing some of the same styles.  What are some of your favorite protective hair styles?

Wednesday, November 20, 2013

Changing My Hair Routine for the Winter Months

Curly in Colorado Winter Hair Routine
Making changes to my Wash n' Go routine
for the winter months
This is the time of year where we start to make changes in a lot of ways.  Sometimes the drier weather may call for heavier products for the hair and skin.  This has been the case for me lately as I have had to make adjustments to my hair routine to make up for the lack of moisture.  Normally I'm able to do my wash n' go style with just two products.  I like to use my favorite leave-in, Paul Mitchell's The Conditioner with Eco Styler gel (the Argan oil one).  Right around early October I could tell that my usual combo was not working like it did over the summer.  I decided to add a little Castor oil to seal in moisture before applying the gel.  This helped some, but still wasn't quite what my hair needed.

I started leaving conditioner in my hair that I would normally rinse out.   The Tresseme Naturals conditioners worked great for this but sometimes I used the Aussi Moist conditioner.  Both products were thick, rich and gave lots of slip.  The Aussi Moist even worked as a styler on it's own and gave me lots of curl definition.  The only thing though with using conditioner only was that I didn't get as much wear out of the style.  With Eco gel added I could go 4 to 5 days before having to re-do my hair.  With conditioner as my styler, I'm lookin' at two days tops.

I finally settled on applying a little of the Tresseme conditioner to my hair for a moisture boost.  Then I'll apply a little bit of the Paul Mitchell leave-in to each section I'm working on.  I seal in the moisture with a quarter size amount of castor oil for each section.  Finally, I re-wet my hair by spritzing water on the sections before applying the gel for hold.  It's taken me a few weeks to figure this new method out but it seems to be working a lot better for me.  The added moisture makes my hair shrink up more but that's a good thing so I welcome it.

Wednesday, May 29, 2013

From Wash n' Go to Braid Out

For Memorial Day I decided to wear a wash n' go because it's seemed to be the easy thing to do with my hair.  I had a few errands to run but still managed to fix myself up before heading out.  One of the things I tried was stretching my roots with the blowdryer for the look of more length.  My hair was still damp when I was done so it shrunk up a little.  Still, I was pretty happy with the end result.

Later that evening, I wanted to co-wash my hair and re-style the wash n' go which meant re-applying all of the products and waiting for it to dry.  Instead, I decided to just kick back and watch Youtube while braiding my hair up for a braid out.  I was surprised this morning to see the amount of definition I had.  I was also happy with the look of length I got without having to use any heat this time.

There was already plenty of product in my hair from the wash n' go so I just spritzed each section with a little water before braiding it into plaits.  I then spritzed a little more water on the ends and twisted with my fingers to get a slight curl.  The product in my hair helped with this step.  I didn't even have to use a comb or denman brush.  I just stretched my hair with my fingers and detangled a little here and there.  It was almost too easy!


I'm beginning to see a routine forming here.  I can totally see myself wearing my wash n' go's for a few days and then turning them into braid outs when they start to get a little fuzzy.  I hope this is the case because I get the feeling my hair needs a more simplified routine and this may be it.  What's funny is the fact that this is what I used to do during my first year natural.  Now I'm not sure why I
ever stopped.
Wash n' Go on Memorial Day
Braid out the next day

Wednesday, January 16, 2013

My Easy Ponytail Roller Set

I sometimes get discouraged with my hair when I see those little tiny fairy knots on the ends.  Single strand knots (SSKs) can cause a lot of trouble because they tend to catch on hair strands and cause tangles.  Since I won't be doing any major cuts on my hair this year (fingers crossed) I figured I should try my best to keep the knots to a minimum.

Since I sometimes use heat on my hair I can tell it still has lots of curl and shrinkage but is slightly more manageable than if I had skipped the heat altogether.  I tend to think that this factor has contributed to my success with roller setting lately.  The drying time is still the same but I can sometimes get away with using larger sections than I used to.  I thought maybe I would put my theory to the test by doing a ponytail roller set using only a few ponytail sections.  Instead of doing 4 ponytails down the middle (like a mohawk) and 4 more sections along the sides, I just used 4 large ponytail sections; 2 in front and 2 in back.  I then split each ponytail in half and rolled each section.  I also placed 2 individual rollers for the bangs.  My new method only took 4 ponytails and 10 rollers which is much easier and still gave me great results.

Since my main objective right now is to keep my hair stretched this method will work just fine.  It keeps my ends smooth so I don't have to worry about them knotting up on me.  Not only that, it also takes a lot less time to get all of the rollers in.  Now that I have this figured out I can use this method to stretch my hair before doing protective styles like buns and up-dos.
THEN:  Ponytail rollerset using more sections

NOW:  Fewer ponytails still worked fine
What I used to get the look:
Creamy Leave-in Conditioner
Heat Protectant serum (to minimize frizz)
Plain Water (to re-wet each section)

Goody Ouchless Ponytail Holders

The Results
Stretched hair with smooth ends

Saturday, October 27, 2012

Twistout Using Curls Unleashed Curl Defining Creme

I normally do braidouts when I want stretched hair because I know I'll get consistent results.  The same is not true when I do twistouts.  Sometimes when I take the twists down, my hair is fuzzy and puffy before I even leave the house.  Other times I have trouble getting the twists to stay so the end result looks messy and not as defined as I would like.

This time I decided to use something to give the twists some hold and definition.  I reached for my Eco Styler gel (a staple) but thought maybe I should give the Curls Unleashed Curl Defining Creme a try.  The only other time that I used it was to do a wash n' go style on wet hair.  I had really good results with it then but since I've been back to using my Eco gel I haven't had much
use for it.

WATCH MY VIDEO ON HOW I DID A WASH N' GO USING 


Small Grey Rods are great
for a spiral curl on the ends
For this twistout I started with clean hair.  First I applied my Paul Mitchell The Conditioner leave-in along with the Hollywood Beauty Olive Creme moisturizer.  I wanted to make sure that there was plenty of moisture under the Curls Unleashed product because I remember it having a firm hold.  I applied the Curl Defining Creme on top of the other two products and started doing two strand twists in medium size sections.  At the front I did flat twists on either side of my middle part and for my bangs.  Once all of the twists were done, I used small grey perm rods to spiral curl the ends.  I always use end papers for this step because I don't want any of the ends to slip off of the rod while I'm sleeping.

When I woke early the next day, my hair was still damp so I decided to let it air dry completely rather than sit under the dryer.  The resulting twistout was so soft and defined I almost didn't believe it.  The thing I liked most was that even after fluffing and styling my hair there wasn't any frizz.  I like big hair and usually lose some definition when I separate and fluff.  I think I'm going to continue to
use this product when I want a nice twistout.  For now here are pics of my first try.


Curly Twistout results with a Satin Scarf for a headband


Before I separated the sections
After fluffing and separating


Sunday, September 2, 2012

Tips on How to Define Type 4 Curls

My hair wet with product
Sometimes I feel like I should be crowned the Wash n' Go queen by now after all of the products and techniques I've experimented with to achieve the curly look.  Washing my hair and just heading out the door is never the case.  I have curls but they are "type 4" curls.  Yes, I'm talking about the hair typing system.  It's not my favorite way to categorize my hair but hopefully it will give others a way to gage whether my techinques will work for them.

My curls are tight corkscrew coils, lazy "s" shapes and everything in between.  I even have a section that laughs at the idea of curl definition.  Oh and let's not forget about the shrinkage.  I would say mine can be up to 75% but it depends on the day.

In order to get my curls to pop, there are certain things that I must do in order to get the definition I want.  Just so you know, I'm usually looking for hair that will last me a few days without feeling drastically dry and brittle.  I'm still looking for a softer hold solution but at least I've got the curl definition part down.

Here are some things that I have learned when styling my own hair
My hair freshly washed and detangled
using a denman brush.
Dry with no product

1.  Start with clean hair

For some this may mean co-washing; for others, shampoo.  I've noticed that I really do get the best results after cleansing my hair.  Otherwise, I end up with so-so results.

2.  Detangle, detangle, detangle

There are times where I skip this step and I always pay for it.  Not only does this cut help to cut down on the time it takes to apply the products but the hair is also way easier to work with.  Whether you're shingling, raking or combing product through remember to start with detangled hair.

3.  Make sure hair is soaking wet

When my hair begins to dry, all of those pretty little curls go poof!  Any curl defining product out there is really just a way to lock your curls into place.  My hair is at it's curliest when it's dripping wet so I start with that.  When sections begin to dry, I make sure to keep a spray bottle handy so I can wake those curls back up.

4.  Work in small sections

We've all seen the videos where someone takes a quarter size amount of product and applies it to all of their waist length hair and voila; curl definition.  Not for our hair texture!  It's best to keep the sections as small as possible so that each and every little curl can get enough product from root to tip.  Sometimes, big hair is desirable but if you want every curl accounted for, using smaller sections is the way to go.

I get lots of curl definition using product
on wet hair
5.  Smooth those ends

After I have completely raked the product through a section, I always go over my ends, using my fingers, to smooth them out.  This will ensure that the curl lays flatter and discourages those stubborn single strand knots.

6.  Once the products are all in, LEAVE IT ALONE!

This is a biggie.  I've done it myself more times than I can count.  Still, you've got to leave your wet hair be until you've got that, dried "cast" that tells you it's okay to touch your curls.  Even if you choose to diffuse, remember not to handle your hair with your fingers because this will cause lots of unwanted frizz.  Simply tilt your head and let your curls drop into the diffuser so that it can do its' thing.

 I hope these tips will help someone out there.  I sure wish I would have known all of this long ago when I first went natural.  Still, I'm pretty happy with my coily creations and that's all that matters.


Thursday, August 23, 2012

Singin' in the Rain with Gotye at Red Rocks Ampitheatre

Red Rocks Ampitheatre in
Morrison, Colorado
Here in Colorado it is pretty much common knowledge that Red Rocks Ampitheatre is one of the best places to take in a live show.   This week the hubby and I made another trek up the winding ramp that leads to the open air venue surrounded by massive red rocks to see the musician, Gotye.  The weather was not the best but fun was had by all once the show started.

There were two opening acts before the much awaited headliner.  After warming the crowd up with a couple of tunes,  Gotye (a.k.a Wally) remarked, as most singers do, at how the altitude made singing a challenge.  Still,  he managed to hit all the notes in perfect pitch.  The show was full of beat driven tracks such as, "Easy Way Out," and, "Thanks for Your Time."

Prior to the show this week of course I kept thinking, "what am I gonna do with my hair?"  With the venue in mind it was a no brainer.  A Wash n' Go was pretty much my only option because there was the chance it might rain.  I decided this before realizing that I was completely out of my staple styler, Eco Gel.  That's when I remembered that I still had some Kinky Curly Curling Custard (KCCC) I bought a long time ago.  I couldn't remember all of the do's and dont's for using this product so I went online to check which leave-ins it paired well with.  I found a video on YouTube explaining how the Tresemme Naturals conditioner I love so much works as a leave-in under the KCCC.

On the way to the concert rockin' my curly fro-
So excited!
Before applying the products, I co-washed my hair with Suave Naturals in Coconut flavor.  Then, with my hair still dripping wet, I applied the Tresemme conditioner in sections. After that, I used very little of the gel on each of the sections and wet the hair before raking it through.  I noticed some crazy curl definition right away which usually means tons of shrinkage.  This was what I was going for though and was happy with the final result.  The next day (the morning of the concert) I re-wet my hair to reactive the curls.  I ended up with a coily afro that was a lot of fun to wear.


At the concert there was plenty of wind and rain throughout but I didn't have a care in the world because my curly fro held up just fine.  Which left me with plenty of headspace for remembering all the words to, "Heart's a Mess" and "Save Me," my two favorite Gotye songs.


Waiting for the show to begin
Red Rocks all around

Thursday, January 19, 2012

Protective Style: Flat Twist UpDo


I'm finally embracing the idea of protective styling to help me retain more length.  This concept has been so hard for me to grasp because I absolutely love wearing my hair out.  The more time I spend over at K.I.S.S. hair forum the more I see that during the week (Monday thru Friday) there really isn't any need to wear my hair down.  I'm usually shuttling the kids to school, exercising and running errands which does not require a glam look.  Still, when I want to look somewhat put together I just throw my hair up into two large flat twists and I'm good.

Before, I discovered this look I was always wearing two french braids (under hand braiding) or two cornrows (over hand braiding).  Sometimes though I think the braids made me look a little juvenile so for this reason I started wearing the twists
more often.

Flat Twists secured
with a Barret
My process is pretty simple.  I discovered that the flat twists have lots more volume when I allow my hair to air dry first.  Usually after my wash day routine, I apply my leave-ins and just pull my hair back into a braided bun for a whole day until it is mostly dry.  Then I take the hair down so I can apply my moisturizer and seal with grapeseed or olive oil.  After this step, I separate my hair into two large sections, parting down the middle and pin one side up with a clip to keep it out of the way.  I lightly comb out the other side with a wide tooth comb and begin flat twisting from the front of my head all they way to the nape.  I found that the twist looks best when I grab smaller sections for each turn.  After twisting all the way down I let the twist sit for a few minutes because it will gradually loosen a bit and look fuller.  I repeat on the other section.  Once both flat twists have "grown," I take the tail ends and twist them around each other.  I then tuck them at the base of the twists with a bobby pin or barrette.  If I want bangs I just take a small section at the front and do three small two-strand twists.  Then I swoop them and secure the bangs into one of the twists.  If I see any loose points along either twist I just use bobby pins to tighten things up.

I used three small two-strand twists
for a side swooped bang
I enjoy wearing this style because it has the potential to look really glam with a little makeup and some earrings.  This is also an easy style to take down so that I can moisturize and seal my hair whenever it is starting to feel dry.  The best thing is knowing that I'm taking care of my hair by simply keeping it tucked away.

Wednesday, January 11, 2012

Finally APL and Holiday Hair Styles

My Holiday Make-Up Look
with Roller Set hair
The Holidays were fast and furious which left me feeling like I needed another break after it was all over.  Still, it was a lot of fun dressing up and going out with the family.  I especially enjoyed finally getting to see how long my hair was after the two Hair Growth Challenges I participated in over at K.I.S.S. 
last fall.

One of the challenges encouraged participants to start using Hot Oil treatments on a regular basis while the other asked everyone to start using a Growth Aid to help speed up hair growth.  I kinda fell off the bandwagon on the first one because since I sometimes have gel in my hair, I wasn't too crazy about applying oils on top of that to do the treatments.  However, I do feel like the second challenge introduced me to an interesting growth aid that appears to actually work.  I'll speak on that later on down the road.


The two challenges ended in December so I was really excited to see if my hair reaped the benefits of all that hard work.  I am happy to announce that I have finally reached my goal of APL length hair!  The top layers are still hovering around my collar bone thanks to that mini big chop I did last year but the back and bottom layers are doing really well.  Since I like to wear my hair in big curls I can see that I won't be satisfied until my hair is around BSL or longer.  Right now with curls my hair sits just below my shoulders.

   I also needed a trim so I took care of that and decided to wear my hair down for the holidays.  Since I've been using roller sets to stretch my hair out I only ended up flat ironing the entire length of my hair once. The rest of the time I was able to enjoy a straight look with the help of my rollers and a little flat ironing at the roots.  My hair has reverted back and is going to be put away for awhile again but it was fun while it lasted.

Roller Set styled in a
Pin-Up Do with Back Down

Flat Ironed hair after
air drying in braids overnight
Flat Ironed Back View

Protective Style: The Puff Bun

I am slowly gaining on my third year with natural hair and am finding new ways to style my curls.  I have always known that I simply cannot keep my hands out of my hair so sometimes I have to put it away.  More recently though, I have been trying to keep my hair protected for the majority of the time so that by summer I will get to see lots more growth retention (a.k.a. lots-of-hair).

Before now I kept thinking that the only protective styles in my arsenal were Mini Individual Braids, the Donut Bun and French Braids.  Thankfully I have discovered even more ways to tuck my hair away.  I'll be sharing a few styles in the coming weeks so stay tuned!

First up is what I call the Puff Bun but I have seen others call it the "Cinna-Bun".  Basically, I pull my wet hair up into a puff by using an "Ouchless" headband that I wrap around twice.  I use Eco Styler hair gel to help smooth the sides and nape area.  I push the headband back towards the crown until it stops and then spread the puff out to expose the center.  After that I simply push the hair down towards the base.  I then pin sections of the puff with bobby pins and secure the ends of each section near the band underneath.  In the pictures posted I also left out a little hair in front for fluffy bangs.  I used a small clip to secure the ends of the bangs to make a side swoop.  This can also be done with dry hair that has been stretched from a braid-out or twist-out.

I like this style because I don't have to use any hair gel on the length of my hair for a curly effect because I'll be tucking the hair under anyway.  This also keeps my ends protected which will help me reach my hair length goals.

I used Eco Styler Gel on the sides
and nape

Ends are tucked under with Bobby Pins

Back View
More Protective Styles to Come!

Saturday, December 10, 2011

Roller Setting Natural Hair-What I Have Learned

Roller setting any hair type is a tricky business.  Still, you can achieve smooth results using rollers on natural hair.  Once you get the technique down you can get salon quality hair at home.  


Here are some things I've learned about roller setting my natural hair.

1. Taking the hair down while it's still damp (not completely dry) will result in frizz.  
I have done this so many times so I know this to be true.  Sometimes the frizziness actually adds to the style though if your going for a bigger look.  However if it's sleek and smooth you want, you gotta leave the rollers in until completely dry.
2. For bouncy hair use as little product as possible. 
I use a good leave in, maybe a dime size of heat protectant and then just water to re-wet each section when I want a soft, bouncy set.  Setting lotion is also an option if I want more hold and is usually not too heavy.
3. Using oils may extend the drying time
I learned this one the hard way one night after rolling my hair while it still had some oils in it from my deep conditioning treatment.  I sat under the dryer for 2 hours and it still wasn't dry!  I ended up having to sleep on the rollers until morning...ouch!
5. Use a good leave-in conditioner
Since natural hair has so much texture I've found that smoothing each section with the rat tail comb or Denman Brush is much easier when I apply a good leave-in.  My favorites are Garnier Fructis and Kinky Curly Knot Today because they give lots of slip.
6. Stick with rollers that are the right size for your hair length
Using rollers that are too large for your length can make rolling the hair more awkward.  
7. Don't put too much hair on the roller.
If the parted section is wider than the roller, the hair may slip off of the roller from the sides leaving some puffy strands.  Also, putting too much hair on to one roller can result in longer drying times and semi-smooth results.
8. Ponytail Roller set = smooth roots
If I'm going for a curly look I don't even worry about the roots.  It's when I want a more straight look where the smoother roots come in handy.  You can always whip out the flat iron for this but using ponytail holders to smooth the roots works too.  There are plenty of discussions online and YouTube videos on this technique. 

My hair after a Ponytail Roller Set and Silk Wrap


Ponytail Roller Set on Natural Hair


Recently, I have tried my hand at roller setting my hair again and I absolutely love it.  This was a staple style for me when I was transitioning because it was a way to blend my roots with the straight ends.  I'm not a huge fan of sitting under the dryer though so I stopped doing it so often and only pulled the rollers out for special occasions.  Since I've been reviewing the whole flat iron thing I realized that using direct heat on my hair is actually doing more harm than good.  I can get smooth results with the rollers and save my hair the damage from straightening with heat.  
There was still one thing though.  Whenever I did a roller set it took forever in a day to get all of the rollers in and I would end up with puffy roots.  Well, there's a little cheat called the, "Ponytail Roller Set," where you use ponytail sections to smooth the roots.  I still sectioned my hair with the mohawk down the middle and two side sections.  So there were 4 ponytails down the middle and 3 on either side.  I used mini Ouchless bands which worked well because they slid out pretty easily.  Then I only had to use two large rollers per ponytail.  I was so happy that it took a lot less time to get all of the rollers in and even more so that I could actually comb through my roots.  That night I even did my very first successful Saran Wrap/Silk Wrap.  This is when you wrap the hair after the roller set to smooth it for a more straight look.  My results were so nice that I've decided, from now on, I'm going to use my rollers when I want to wear it straight.  I'm okay with using the flat iron on my roots every once in awhile but there really is no need to put that kind of stress on my ends each time.  Here are some pics of how it turned out.

Top View

Back and Side

Roots turned out smooth

The setting lotion I used

Results from the Saran Wrap/Silk Wrap


Thursday, September 29, 2011

What My Hair Has Been Up To


I know I haven't been posting very much lately but I wanted to share some of the styles that I have been rockin' the last few weeks.  I have actually been wearing my hair straight a little more which I think is coming to an end this week.  At least until I can get my hands on a flat iron that has a heat dial so I can adjust the temperature setting.  My FHI Technique G2 straightens really well but only has one setting...400+ degrees!  I know that a lot of you are thinking why use heat in the first place?  I know, it can be damaging but, I'm one of those Naturals who likes to use it occasionally.  Anywhoo, enough of the straight talk and on to the pics. . . Enjoy!

Corkscrew Braid Out
at the Denver Art Museum

Flat Twist Up Do
My current favorite during the week
to keep my hair protected

Corkscrew Braid Out
with Satin Scarf Headband
with Eco Styler Gel on my edges
Corkscrew Braid Out
Back View

Straight Hair in August just
before Trim

Wash n' Go at City Park

LinkWithin

Related Posts with Thumbnails