Showing posts with label 4a texture. Show all posts

Wednesday, January 8, 2014

Easy Up-Do on Stretched Natural Hair

www.Curlyincolorado.com stretched natural hair style
Easy Up-Do on Stretched Natural Hair
There are all sorts of ways to stretch natural hair and I've pretty much tried them all.  Thing is, I am always stuck trying to figure out how to style my hair once it's stretched.  Enter the Up-Do.  After watching plenty of videos on the subject, I can finally say I've got a few tricks up my sleeve.

The Crown Braid style that I demonstrated in my french braiding video is a favorite of mine.  It can last several days if I keep it wrapped up at night.  Lately though I wanted something with a little more pizazz and found this look that was also really easy
to do.

This is similar to the look that Teyonah Parris rocked on the red carpet at the SAG awards last year.  I like that you can change this into a mohawk style or go with a simple bun.  This is truly where stretched natural hair shines because the texture gives fullness to the style.

Here's a pictorial of how I achieved this style.


I first sectioned off my bangs with a u-shape part


curlyincolorado.com stretched natural hair style

Then I split the rest of my hair into two sections parting from ear to ear.  Next, I pulled each section into ponytails using elastic bands to secure.  

curlyincolorado.com stretched natural hair style

Now it's time for some bobby pins.  I just took the bottom ponytail and split the hair into three.  I finger rolled my hair like I was pincurling it and bobby pinned the hair down towards the base of the elastic. 


curlyincolorado.com stretched natural hair style
Finger Rolling

curlyincolorado.com stretched natural hair style
Roll down toward the base of the elastic

curlyincolorado.com stretched natural hair style
Pin Down with a Bobby Pin

 I took the other two sections and did the same thing, pinning them around the sides of the elastic for a full bun effect.

curlyincolorado.com stretched natural hair style
This ponytail was split into three sections

I did the same rolling and pinning on the second/top ponytail and then moved on to the bangs. 

curlyincolorado.com stretched natural hair style

 The bangs can be pinned back into a pompadour or swooped forward.  This is usually where I freestyle a bit until I get the hair how I want it.  


curlyincolorado.com stretched natural hair style
Swooped bangs

I finished the style by smoothing the sides with a soft bristle brush and there you have it.  So Easy!


curlyincolorado.com stretched natural hair style
The finished look

This Up-Do is too easy to pass up.  Let me know if you give it a try!


Sunday, September 2, 2012

Tips on How to Define Type 4 Curls

My hair wet with product
Sometimes I feel like I should be crowned the Wash n' Go queen by now after all of the products and techniques I've experimented with to achieve the curly look.  Washing my hair and just heading out the door is never the case.  I have curls but they are "type 4" curls.  Yes, I'm talking about the hair typing system.  It's not my favorite way to categorize my hair but hopefully it will give others a way to gage whether my techinques will work for them.

My curls are tight corkscrew coils, lazy "s" shapes and everything in between.  I even have a section that laughs at the idea of curl definition.  Oh and let's not forget about the shrinkage.  I would say mine can be up to 75% but it depends on the day.

In order to get my curls to pop, there are certain things that I must do in order to get the definition I want.  Just so you know, I'm usually looking for hair that will last me a few days without feeling drastically dry and brittle.  I'm still looking for a softer hold solution but at least I've got the curl definition part down.

Here are some things that I have learned when styling my own hair
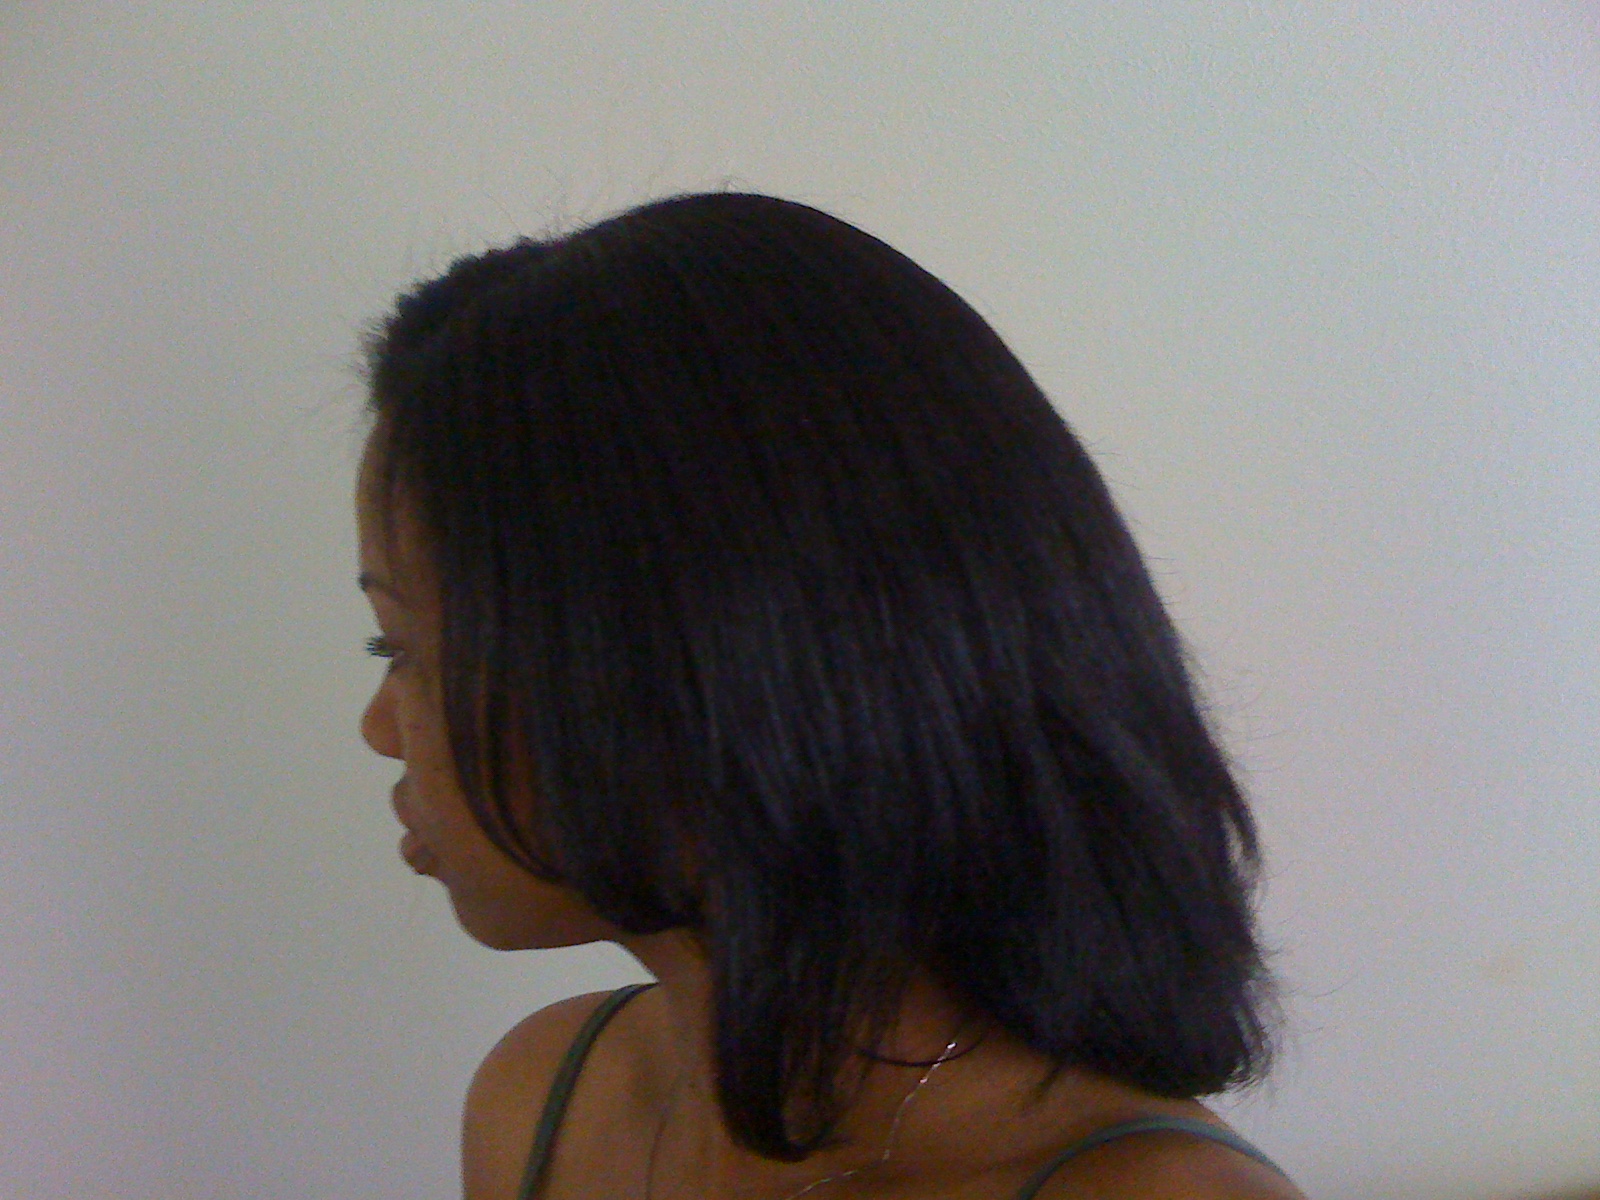
My hair freshly washed and detangled
using a denman brush.
Dry with no product

1.  Start with clean hair

For some this may mean co-washing; for others, shampoo.  I've noticed that I really do get the best results after cleansing my hair.  Otherwise, I end up with so-so results.

2.  Detangle, detangle, detangle

There are times where I skip this step and I always pay for it.  Not only does this cut help to cut down on the time it takes to apply the products but the hair is also way easier to work with.  Whether you're shingling, raking or combing product through remember to start with detangled hair.

3.  Make sure hair is soaking wet

When my hair begins to dry, all of those pretty little curls go poof!  Any curl defining product out there is really just a way to lock your curls into place.  My hair is at it's curliest when it's dripping wet so I start with that.  When sections begin to dry, I make sure to keep a spray bottle handy so I can wake those curls back up.

4.  Work in small sections

We've all seen the videos where someone takes a quarter size amount of product and applies it to all of their waist length hair and voila; curl definition.  Not for our hair texture!  It's best to keep the sections as small as possible so that each and every little curl can get enough product from root to tip.  Sometimes, big hair is desirable but if you want every curl accounted for, using smaller sections is the way to go.

I get lots of curl definition using product
on wet hair
5.  Smooth those ends

After I have completely raked the product through a section, I always go over my ends, using my fingers, to smooth them out.  This will ensure that the curl lays flatter and discourages those stubborn single strand knots.

6.  Once the products are all in, LEAVE IT ALONE!

This is a biggie.  I've done it myself more times than I can count.  Still, you've got to leave your wet hair be until you've got that, dried "cast" that tells you it's okay to touch your curls.  Even if you choose to diffuse, remember not to handle your hair with your fingers because this will cause lots of unwanted frizz.  Simply tilt your head and let your curls drop into the diffuser so that it can do its' thing.

 I hope these tips will help someone out there.  I sure wish I would have known all of this long ago when I first went natural.  Still, I'm pretty happy with my coily creations and that's all that matters.


Thursday, May 3, 2012

Saying Goodbye to Heat Damage


In the last couple of videos that I posted to YouTube, I discussed my straight, heat damaged bangs and how I styled them so that they would blend in with the rest of my hair.  Shortly after posting those I started a six week Wash n' Go binge and wore my hair curly the whole time.  For a while I was fine with pushing the straight pieces back or braiding the hair into a headband.  During this time I was also reading the Curly Girl Handbook by Lorraine Massey and learning more about my curls and how to work with them.  I kept looking at my damaged hair and wondered, why was I holding on to the straight pieces?

Using small perm rods to camouflage the straight pieces
After much contemplation, I finally decided to break out the shears.  I already knew that I had curly bangs in my future so why not just get on with it?  First, I wet the hair that I sectioned off for the cut.  This made it easier to tell where the textured hair met the straight ends.  Then I placed a long metal clip across that line of demarcation and cut.  I thought that would do it but the straight pieces were still another inch into the length of my bangs so I snipped again.  I was surprised to see a small, one inch section where my hair was just blah; not really curly or straight.  The rest of the bang was curling up the way I expected.  I ended up with a Betty Paige style look which for me was just fine.
AFTER
Short Bangs
BEFORE
Straight Pieces in Front
It's been about a month and a half since the mini chop and I have to say that for the most part, the bangs are fine by me.  The curls are in good shape even after wearing my hair straight a couple of times.  I refuse to use my flat iron on that area because the 400 degree temperature is just too much.  Instead I use my Gold n' Hot Curling Iron which only gets up to 300 at best.  I'm also liking the Paul Mitchell Super Skinny for my heat protectant these days.

I do wish the bangs were a teensy bit longer though so that it would be easier to braid them down into a cute headband.  Of course this is possible with a little help from my Eco Styler gel.  I'm also realizing that I won't be able to slick all of my hair back for awhile.  For now though, I'm just enjoying the new look and loving the curls.
Used a metal clip to section off bangs
Bye Bye Heat Damage
Bangs before cutting a bit more

Check out my post on how I treated my Heat Damaged Hair

Wednesday, April 4, 2012

DIY Eco Styler Gel Custard Recipe


After many months of searching for an alternative to Eco Styler Gel, I finally resigned to the fact that it's the only gel that gives the hold and definition my curls crave.  Still, I always got the dreaded dry, crunchy feeling everytime I used it.  I usually apply a leave-in to my wet hair and seal the moisture in with an oil underneath the gel.  No matter what, I kept getting the same result.  After reading through the book, Curly Girl, by Lorraine Massey, I found out that the crunch or "cast" the gel leaves behind is actually a good thing.  This is when you know your curls have been set into place.  I found this to be true because after air drying, I'm usually able to fluff and style my hair without worrying about losing my curl definition.  The book suggests that you scrunch the hair to remove the crunch but I sometimes kept getting a dry feeling after this step.
I figured out that the combination of an oil and a mositurizer underneath the gel gave me much softer hair.  This however led to applying lots of products one by one.  By the time I reached the front sections of my hair it was dry and not as manageable.  I wanted a way to apply the products quicker so I decided to just whip them all together and came up with a nice custard consistency.  I'm realizing that this is a much easier way to apply my products and my curls love it!  

Here's the recipe I came up with


Eco Styler Gel Custard


6 oz. Argan Oil Eco Styler Gel (or fill a 12 oz container half way)
2 Tblsp. Hollywood Beauty Olive Creme Hairdress for Dry Hair*
1 Tblsp. Castor/Coconut Oil Mix**


Place ingredients in a small container.  Whip together until all ingredients are combined.   The mixture will have a pudding like consistency. 


*You can substitute another moisturizer; one that pairs well with Eco Gel
**I use a 50/50 Castor/Coconut oil mix to seal my hair.  For this recipe I just used 1 Tblsp of my pre-mixed oil.

The Application

After cleansing and conditioning, I apply my leave-in conditioner (currently Paul Mitchell's The Conditioner) to my hair while it's still wet.  Next I section my hair into four sections to keep my hair up while I'm styling.  Within each section I make small parts and apply my Eco Gel Custard.  I use a smoothing and raking motion to help give the curls definition.  I've also started sealing the hair with oil after applying the gel custard for an even softer hold but this is optional.  Then, I let it airdry for about an hour or so before I use a blow dryer on the roots.  You can also plop the hair with a T-Shirt to help with the drying time or just continue to air dry.


Final Thoughts

I'm finding that the mixture also works on my edges when I wear my hair up.  I haven't done a braid-out or twist-out with it yet but it looks like it may give good results.   I'm going to continue to play with the recipe but this version seems to work well on my hair which is a 4a/4b texture.  I've also started using it on my son's curly 3b/3c/4a hair and it is also responding well.  The only thing I noticed is that I'm getting a lot more shrinkage because my curls just love the moisture.  To get more hang time I usually just stretch it by pulling it back at night.


Sunday, January 29, 2012

Protecting Your Hair at Night

Satin Bonnet
for when I'm wearing rollers and
curly braid outs
I've been writing lately about Protective Hairstyles which can help with length retention.  Yet another way to protect the hair is by wrapping it up at night.  This may sound like a no brainer to some but there is a lot of benefit for the hair by doing this one thing.   This practice can be a huge help when trying to reach your hair length goals.

I  recently re-read a bit of Wanakee Pugh's "Practical Guide to Haircare" and something stood out to me.  She stated that even if your hair is too short to be pulled back into a protective style, you can still benefit from wrapping your hair at night.  This reminded me of the beginning of my Natural Hair journey because I did this faithfully every night.  My hair was maybe only 1 1/2 inches long at the time but I kept it wrapped up in my satin scarves when I went to sleep.  Now that my hair is longer I can tell a huge difference in my hair when I go to bed without covering it up.  I wake up to tangles and sometimes dryness.  I agree that it is not the cutest look going but it works.

I mentioned my satin scarves (I have a nice little collection) but you can also use a satin bonnet.  Satin is a man made material that is easy to wash and can be long lasting.  This is highly recommended as far as material choice because it does not draw moisture away from the hair and is smooth so it won't disturb it very much while you sleep.  When I wear rollers to bed I usually reach for my satin bonnet.  Otherwise, I have scarves in a variety of sizes for when I wear braids, twists and protective styles to bed.  Here's a few pics of how I wrap my hair.

Pineapple for the Corkscrew Braid Out
with my edges protected

Air drying while smoothing my edges 

Large Satin Scarf to protect my
 Roller Set from the rain

Satin Bonnets and Scarves from
the local BSS

Thursday, November 3, 2011

Henna and Indigo Results

I finally got around to ordering my indigo so that I could cover my burgundy hair color with something a little more modest.  I'm sure the bright red henna'd hair I had before is appealing to some but it was not my cup of tea.  I wasn't quite ready for the lengthy two step process where you henna first, rinse out and then apply indigo for a jet black result.  Instead, I mixed one package of Godrej Nupur Henna (50g) with 100 grams indigo.  I ordered the indigo powder from Butters-n-Bars.com which is the same online store where I get my raw unrefined shea butter.
I kept the henna mix pretty simple as always and just mixed it with a mug of strong green tea to help the dye release.  I added enough water to give the mixture a smooth, almost pancake batter consistency and let it sit overnight.  The next day, when I was ready to apply it, I mixed the indigo into a paste with just plain water and added it to the henna.  I don't add oils anymore because I read that it can slow the dyeing process.  I applied the "Hendigo" to my hair like a clay mask and covered with plastic wrap.  Then I waited for four hours before rinsing and then co-washing several times to get it all out of my hair.

The application took very well to the majority of my hair but left my grey strands with just a tinge of color.  I'm planning on doing another application to the roots and grey hairs sometime this week 'cause I don't need everybody knowin' how old I'm getting.  If my greys are still too obvious afterward I may reconsider dyeing my hair all black with the two step process.

My stubborn grey strands are still noticeable 
I like the reddish brown tone in the sun

Thursday, September 29, 2011

What My Hair Has Been Up To


I know I haven't been posting very much lately but I wanted to share some of the styles that I have been rockin' the last few weeks.  I have actually been wearing my hair straight a little more which I think is coming to an end this week.  At least until I can get my hands on a flat iron that has a heat dial so I can adjust the temperature setting.  My FHI Technique G2 straightens really well but only has one setting...400+ degrees!  I know that a lot of you are thinking why use heat in the first place?  I know, it can be damaging but, I'm one of those Naturals who likes to use it occasionally.  Anywhoo, enough of the straight talk and on to the pics. . . Enjoy!

Corkscrew Braid Out
at the Denver Art Museum

Flat Twist Up Do
My current favorite during the week
to keep my hair protected

Corkscrew Braid Out
with Satin Scarf Headband
with Eco Styler Gel on my edges
Corkscrew Braid Out
Back View

Straight Hair in August just
before Trim

Wash n' Go at City Park

Monday, March 14, 2011

YouTube Inspiration: Trimming Natural Hair

This is the video that inspired me to trim my hair in January.  Normally I just wait to do trims when my hair is straight.  This showed me that I can still get a nice even cut without using heat first to stretch my hair out.   When I straightened my hair out recently I checked to see if there were any long pieces that I missed but was surprised to find that my hair was pretty even.  This method definitely works so I thought I would share.


Video by  YAISnyc

Tuesday, February 15, 2011

My True Hair Length

The other day I was watching a hair length check video by pltbyCormie on YouTube.  She was explaining that if you think that you are not experiencing hair growth, it may be best to start measuring your hair with a tape measure.  This way you end up getting a more accurate look at how long your hair truly is.  Since I'm trying to avoid straightening my hair for awhile, I can never really "see" where my hair is due to shrinkage.  I decided to try it because I have been a little frustrated waiting for APL length hair.  This method not only showed me where my current length is, but also gave me an idea of how much longer until I reach my hair length goals.  It turns out that I am approximately 2" away from reaching my goal and another 4" before I reach BSL (bra strap).  I was relieved to finally have something more concrete than just looking in the mirror and waiting for hair growth. 

Measuring from shoulder length to APL;
about 5 to 6 inches
Height and Hair Length

Cormie also mentioned that when we look to others who have already reached their hair length goals, we should try not to compare our hair to theirs.  This is where height comes into play.  Depending on how tall you are, you may have longer or shorter to go before reaching SL (shoulders), APL (arm pits) and BSL (bra strap).  The distance between these points is different for everyone.  If you are shorter in stature then you may be able to reach your goals sooner than someone who is considered quite tall.  I'm 5'6" and the distance between SL and APL on me is 5 to 6 inches.  I had the unrealistic goal of achieving this length by Dec. of 2010 after only getting to shoulder length in May of 2010.  That's only 7 months time while my hair most likely only grows 1/2" per month.  Now I can stop fretting over not reaching this goal already because I can see that I'm on track to reach it by my 2 year natural hair anniversary (May 2011) which is more accurate.  Others who have reached this goal sooner may or may not be shorter than I am.  Now that I have this knowledge, I am looking forward to seeing hair growth in a time frame that is true to me and based on my own hair. 

Saturday, November 6, 2010

Curly Hair Products Now at Target Stores


Miss Jessie's Products
Now available at Target Stores

I was at my local Super Target picking up a few things when I found Kinky Curly, Miss Jessie's, Jane Carter Solution and Shea Moisture products on the shelves.  I honestly just stood there staring at the display in disbelief.  Girls with curls in other cities have had access to these products at their Target stores for a while.  This was not the case where I'm at.  I even looked it up online and the only place where you could find Kinky Curly products was at Whole Foods which is a little bit of a drive for me.  The Miss Jessie's was only available online which, combined with shipping**, made the cost an obstacle (actually, the price is still an obstacle but that's another post...lol!).  


Kinky Curly and Jane Carter Solutions
Natural Products for Kinky and Curly hair
now at Target Stores
I was already thinking about trying the Kinky Curly Curling Custard.  Supposedly it gives curl definition while keeping the hair soft and moisturized.  I hope this will work for my son who wants to wear his hair longer now.  The Tightly Curly Method  just isn't taming his curls the way it used to.  His hair is frizzy by the time he gets home from school.  I really don't want to get into using frizz serums and hair gel with his soft curly hair.  On top of that, my hair has been acting funny whenever I use my staple Eco Styler gel.  I use olive oil and leave-in conditioner under it but I still end up with crunchy hair that is dry by weeks' end.

With all that,  I still couldn't justify the price (and the drive) for the Kinky Curly.  At $32.00 USD for 1 large 16 oz. container of KCCC, I've been on the fence for quite some time.  However, Target has the smaller 8 oz. jars in stock for only $16 so I thought, why not give it a try?  I did a roller set last night so I won't be able to try it out for a couple of days.  Stay tuned for my upcoming Kinky Curly trials!

**FYI--Ground Shipping is now free for anyone who does not have Miss Jessie's in their local Target stores--see website for details**

Saturday, October 9, 2010

Reshma Henna Review

I recently found Reshma Henna at a local Indian grocery store. After hearing about it online, I thought I would try it out. For 200 grams the cost was only three dollars. I figured if it worked I was definitely going back to buy more. Well, it not only worked, it also rinsed out a lot easier than the henna I used in the past.

I combined 100 grams Reshma Henna with about 50 grams Amla powder which is a great conditioner. I also had a little Moroccan Henna leftover from my Hennasooq.com order so I figured I would use the rest. The resulting color definitely covered my stubborn greys but was still very burgundy red. Indoors it still looks dark but you can really see the red tone in the sun. I was hoping for a different result because amla is known for darkening but, oh well.


On other occasions I combined Indigo with my Henna for a brunette color. Somehow I was still ending up with a more reddish auburn. I may end up going black by applying the Indigo to my hair after I've rinsed the henna. I've heard that this 2 step process will also give the best gray coverage. Either that or I'll give the henna/indigo mix one more go but this time using more indigo.

Thursday, August 12, 2010

YouTube is a Natural Girls Best Friend

I'm a YouTube fanatic!  I love it so much I even started making my own videos.  Before I decided to go natural, I discovered tons of videos where ladies would explain what they did for longer, healthier hair.  When I noticed how damaged my own hair was, I turned to the internet for an answer.  All of these videos kept popping up.  Some were about the best flat iron to use, while others showcased hair styles that required little to no heat.

Not knowing where to begin, I used the YouTube search bar to locate videos on growing african american hair longer.  I found a video by Saleemah Cartwright, founder of  Hydratherma Naturals.  It was a picture slideshow of her hair from completely shaved to length down her back! I later found MacherieHair's video (no longer posted)on how she does a silk wrap after doing a rollerset for straight and bouncy hair.  This one was a shocker!  In the beginning her hair is completely wrapped in saran wrap.  Then she starts to comb it out...whooaa!  Her hair was long, healthy and full of body.  So that was all it took...I was completely hooked. The videos about growing healthy hair led me to where I am today.

My Favorite Transitioning Style

Once I decided to go Natural, I considered how long I should go before doing the Big Chop.  At only 3 months post relaxer, I was certain that I wanted to grow my natural texture out a lot more before this step.  Normally I wore my hair straight but I was beginning to see how damaging all of the heat was.  The next best thing was Rollersetting. 

My Hood Dryer
I personally had never Rollerset my hair before.  I had seen it done in the salon but that was about it.  From what I could see on YouTube, there were a lot of ladies who did it each week instead of using flatirons and blowdryers.  I also kept hearing about how handy it was to have a hooded dryer at home for this style and to do deep treatments.  I figured I would give it a go.

I went to my local Sally's beauty supply and purchased the Ion hooded dryer with multiple heat settings for about $40.  When I got home, my husband thought I had gone mad.  I explained that it was an investment and that I would get a lot of use out of it. 

My Curly Fro
As for the rollersetting, I really didn't know how it would turn out but it was worth a try.  I watched plenty of videos before going for it.  I used the small grey perm rods so that the two textures of my hair would blend together better.  The end result was a cute and curly little afro.  The style often lasted  a whole week which meant less stress on my hair.

It's almost 2 years later and I still rollerset my hair.  I didn't realize it then but it's a technique that can also be used on Natural hair.  I'm glad that I learned how to do it during my transitioning phase because now it's one of my staple styles.

LinkWithin

Related Posts with Thumbnails