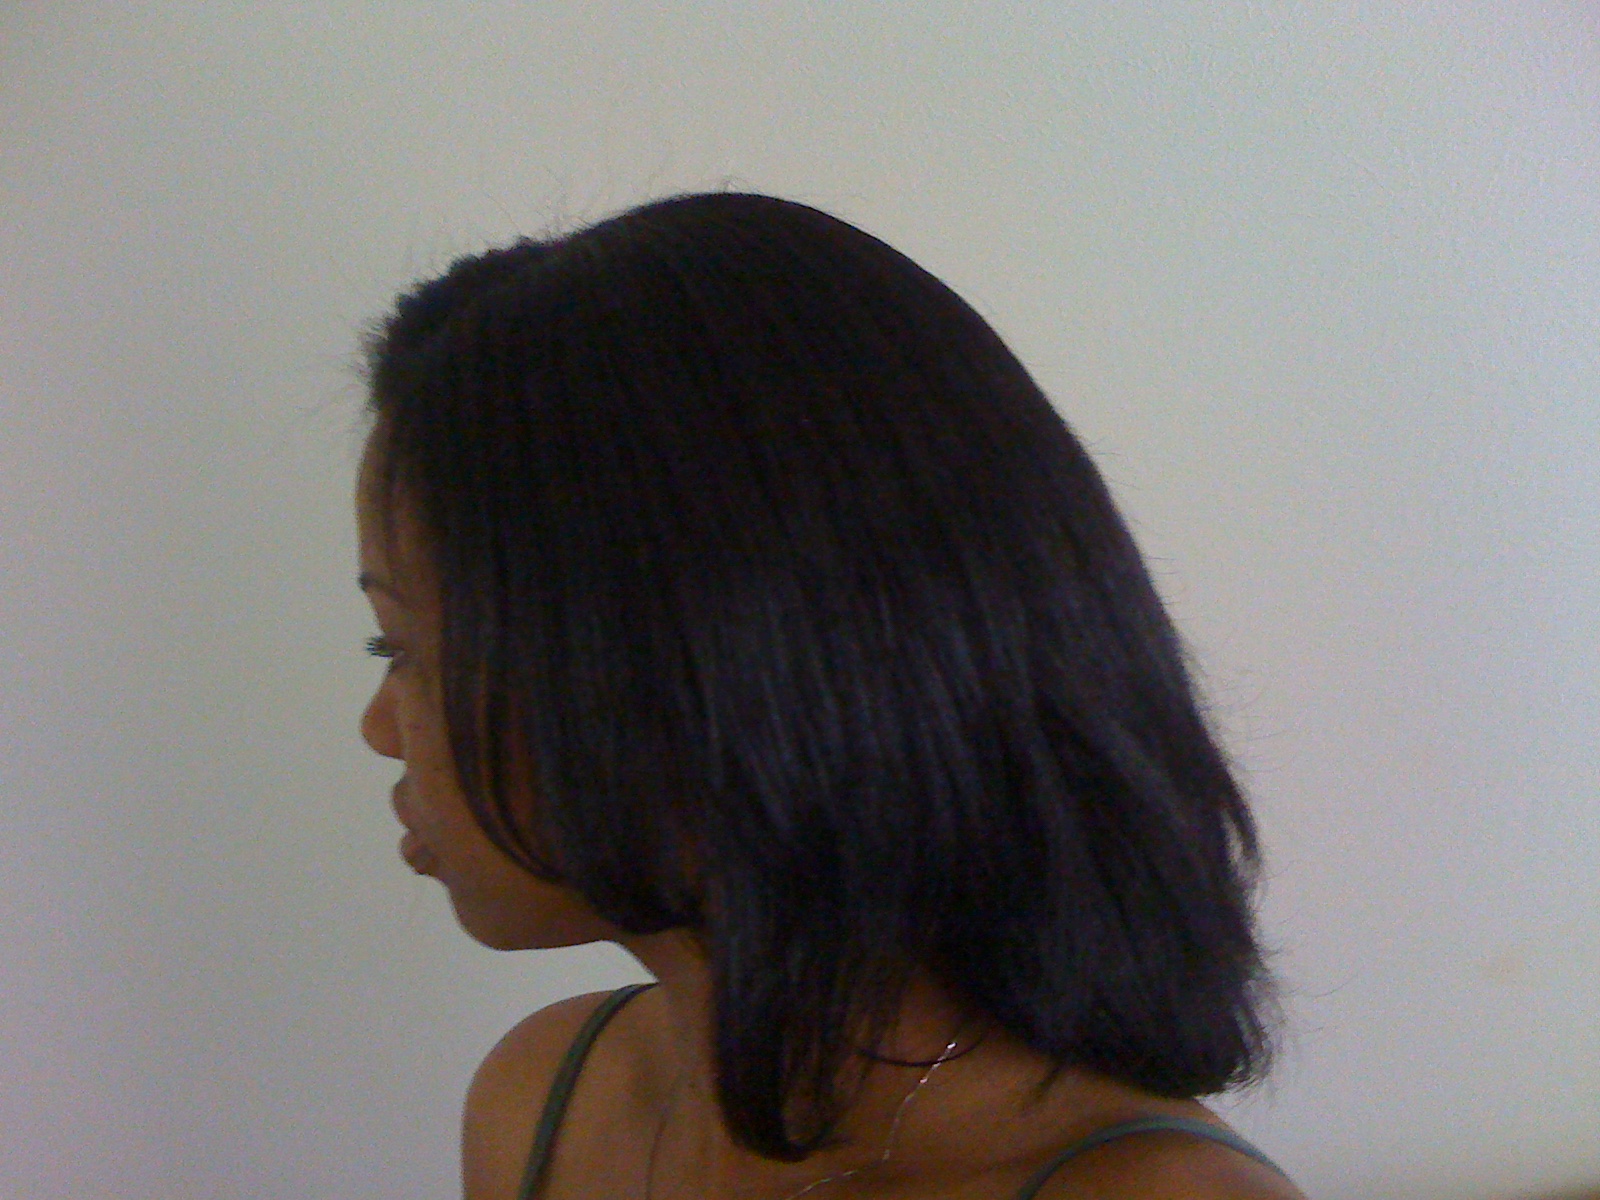
Showing posts with label curly hair. Show all posts

Wednesday, February 11, 2015

Aphogee Keratin 2 Minute Reconstructor on Natural Curly Hair

When my hair was relaxed, I never took the time to deep condition my hair.  I had a pretty simple regimen which included shampoo, conditioner and a leave-in conditioner.  If I had been introduced to do the idea of using a light protein treatment, my hair might have been a lot stronger.  Since I was clueless back then, my color treated, chemically straightened hair broke off like mad.

I heard about the Aphogee line when I was doing research on how to keep my hair from breaking.  The two step protein treatment sounded a little too involved for me.  However the conditioner like Keratin 2 minute Reconstructor I thought was worth a try.  I started using it once a month during my transitioning period and experienced a lot more length retention.


WATCH HOW I USE 
APHOGEE'S KERATIN 2 MINUTE RECONSTRUCTOR


After doing my big chop I figured I didn't need the product anymore.  I started wearing my natural hair straight once a month and quickly learned that my hair still needed protein.  That's why I still use the light protein treatment by Aphogee.  It is my go to product when my curls need a little help.  Now, don't get me wrong, this product will not bring severely heat damaged hair back from the brink.  It will however help strengthen damaged hair and lessen the chance of breakage.  Take a look at my video to watch a quick demonstration of how I use the product.

DISCLAIMER:  If your hair is protein sensitive then this product may not work for you.    Be sure to read the product instructions prior to using this product.  I consider this to be a light protein treatment but if used too often it can lead to dryness and breakage.  Always follow a protein treatment with a moisture deep conditioning.

Monday, December 22, 2014

How I use a Blowdryer and Diffuser on my Wash and Go


www.curlyincolorado.com how to use a blowdryer diffuser on wash and go
During the winter months I tend to shy away from wearing the wash and go style.  This is because I don't want to walk around with wet hair while it's cold outside.  Recently I discovered that, if I carefully wrap my hair at night, I can rock the curly look without re-wetting my hair in the morning.  So as of late, I have been doing the style at night and then blowdrying my hair before going to bed.  That's where my diffuser comes in.

The point of using a diffuser is to dry your hair without causing frizz.  Mine is an attachment for my blowdryer that I picked up at Sally's Beauty Supply for about 10 bucks.  Unfortunately, the attachment broke recently after years of use which I'll be replacing soon.  Nowadays you can find a blowdryer that comes with its own diffuser attachment included.


How I use my Diffuser

www.curlyincolorado.com how to use a blowdryer diffuser on wash and go
Using a diffuser attachement to
blowdry without frizz
www.curlyincolorado.com how to use a blowdryer diffuser on wash and go
Stretching my hair for more hang time
After I finish applying my leave-ins and gel to set my style, I like to let my hair air dry for about an hour.  At this point my ends will start to harden which lets me know that I can manipulate my hair without ruining the style.

 I like to use the diffuser all over but mostly in back where it takes the longest to dry.  Then I'll remove the diffuser attachment and just point the blowdryer at my roots until completely dry.  Sometimes I'll hold the ends of my hair and stretch it while blowing warm air on the section.  This helps give me a little more length in areas that really shrink up.

Using my blowdryer in this way makes it possible for me to continue wearing my curls even when it's cold out.  I can usually keep the look going by just wrapping my hair with a large satin scarf at night.  In the morning I just shake my hair out and fluff.

Wednesday, November 20, 2013

Changing My Hair Routine for the Winter Months

Curly in Colorado Winter Hair Routine
Making changes to my Wash n' Go routine
for the winter months
This is the time of year where we start to make changes in a lot of ways.  Sometimes the drier weather may call for heavier products for the hair and skin.  This has been the case for me lately as I have had to make adjustments to my hair routine to make up for the lack of moisture.  Normally I'm able to do my wash n' go style with just two products.  I like to use my favorite leave-in, Paul Mitchell's The Conditioner with Eco Styler gel (the Argan oil one).  Right around early October I could tell that my usual combo was not working like it did over the summer.  I decided to add a little Castor oil to seal in moisture before applying the gel.  This helped some, but still wasn't quite what my hair needed.

I started leaving conditioner in my hair that I would normally rinse out.   The Tresseme Naturals conditioners worked great for this but sometimes I used the Aussi Moist conditioner.  Both products were thick, rich and gave lots of slip.  The Aussi Moist even worked as a styler on it's own and gave me lots of curl definition.  The only thing though with using conditioner only was that I didn't get as much wear out of the style.  With Eco gel added I could go 4 to 5 days before having to re-do my hair.  With conditioner as my styler, I'm lookin' at two days tops.

I finally settled on applying a little of the Tresseme conditioner to my hair for a moisture boost.  Then I'll apply a little bit of the Paul Mitchell leave-in to each section I'm working on.  I seal in the moisture with a quarter size amount of castor oil for each section.  Finally, I re-wet my hair by spritzing water on the sections before applying the gel for hold.  It's taken me a few weeks to figure this new method out but it seems to be working a lot better for me.  The added moisture makes my hair shrink up more but that's a good thing so I welcome it.

Wednesday, May 29, 2013

From Wash n' Go to Braid Out

For Memorial Day I decided to wear a wash n' go because it's seemed to be the easy thing to do with my hair.  I had a few errands to run but still managed to fix myself up before heading out.  One of the things I tried was stretching my roots with the blowdryer for the look of more length.  My hair was still damp when I was done so it shrunk up a little.  Still, I was pretty happy with the end result.

Later that evening, I wanted to co-wash my hair and re-style the wash n' go which meant re-applying all of the products and waiting for it to dry.  Instead, I decided to just kick back and watch Youtube while braiding my hair up for a braid out.  I was surprised this morning to see the amount of definition I had.  I was also happy with the look of length I got without having to use any heat this time.

There was already plenty of product in my hair from the wash n' go so I just spritzed each section with a little water before braiding it into plaits.  I then spritzed a little more water on the ends and twisted with my fingers to get a slight curl.  The product in my hair helped with this step.  I didn't even have to use a comb or denman brush.  I just stretched my hair with my fingers and detangled a little here and there.  It was almost too easy!


I'm beginning to see a routine forming here.  I can totally see myself wearing my wash n' go's for a few days and then turning them into braid outs when they start to get a little fuzzy.  I hope this is the case because I get the feeling my hair needs a more simplified routine and this may be it.  What's funny is the fact that this is what I used to do during my first year natural.  Now I'm not sure why I
ever stopped.
Wash n' Go on Memorial Day
Braid out the next day

Monday, May 27, 2013

Natural Hair: Growing it Out In Your Own Time

This last couple of weeks I've been kicking myself for the frequent trimming that has kept my hair journey stuck in neutral.  Right now my hair sits just below APL (arm pit length) in back and layered in front with bangs (when straight).  My main motivation for going natural was to grow my hair longer.  I figured I was on a five year plan but saw how much faster my hair grew (or broke less) during the first year natural.  I was so excited and figured I would see Bra Strap Length hair (BSL) some time around the halfway mark.  When that didn't happen, I started to get down on myself and wonder what I was doing wrong.  It also didn't help that I kept seeing progress pics and videos from others who gained length and thickness in what seemed to be much less time.

HAIR GROWTH TALK AND TIPS

INSPIRATION VIDEO BY "MYNATURALSISTAS"


This week though, I watched a very helpful video that reminded me that everyone's natural hair journey is different.  It's okay to look to others' experiences for inspiration.  However, it is unrealistic to compare my hair to someone else's even though we may have the same hair texture and starting point.  Each hair journey is a very individual experience and there are so many different variables that decide the outcome.  There's also a lot to learn along the way and we all do this in our own time. 

For now, I'm going to try to not focus so much on what I DON'T have and get back to appreciating what I DO have.  The longer length will come in time so I'm just going to have some fun with my hair as it is right NOW.

Thursday, April 18, 2013

What Has My Hair Been Up To?

Whoa!  Blogging for the first time in a loooong time.  I also took a break from my Youtube channel for a little while but I'm feeling motivated so here I am.  This first post back I thought that maybe I would share pictures of some of the styles I've been rockin' while away from the blog.  I pretty much have been going back and forth between curly and straight.  It has really been a learning experience because I have been forced to really pay attention to my hair and watch for damage.  Yes, the dreaded heat damage that I swore I would do my best to avoid!  Oh well, when it comes down to it I just really enjoy variety and my hair is no exception.


During this time I have rediscovered the Aphogee product line that I used in my Transitioning days.  I've been experimenting with the Leave-in (a spray) and the 2 Minute Reconstructor.  I credit both for helping me to retain my curly texture after each heat use.  Now normally you wouldn't think it necessary to use protein based products on natural hair but in my case, it's essential.  I've seen first hand how heat can do major damage to my curls so the protein just helps to strengthen my hair where it needs it.

I haven't forgotten about my henna though.  I still like to use it for covering my greys but may get back to using it in the form of henna glosses for conditioning.  Overall, I'm pretty happy with where my hair is right now.  I would like to see a little bit more length though so we'll see where it ends up; no hurry.

By the way, I'm posting videos more often on my channel on Youtube called, Mitchellzee so check that out for updates on my hair journey, tips and reviews.  Ciao!

1/2 WIGGIN' IT
WASH N' GO WITH A HUMP


1/2 UP 1/2 DOWN


WASH N' GO WITH BANGS PINNED BACK


STRAIGHT
STRAIGHTENED AGAIN


WASH N' GO (WET HAIR)
SLICKED BACK/ BANDED PONYTAIL


DONUT BUN
CURLY BRAID OUT

Thursday, December 13, 2012

Healthy Hair and Skin from the Inside


Recent twist and curl style
I am pretty happy with my hair recently and am feeling like things are getting back to normal.  By that I mean I was having some issues with dry, flaky scalp followed up by a month or two with heavy shedding.  Both issues are finally getting under control so I have been uploading to my YouTube channel more often with hair tutorials.  Before now though it was so frustrating to do anything with my hair because I almost felt like there was no point.  The flakes made it look so bad that I didn't even want to go out some days.

One of the things that I think helped was that I started working on my immune system to help get my skin under control.  I have psoriasis and I have known for a while now that the inflammation in my skin is because of something not quite right with my immune system.  When the psoriasis flared up I started introducing probiotics into my system by eating a serving of Activia yogurt each day.  This helped with digestion and made it possible for my body to absorb my supplements better.  After doing that for 2-3 weeks I decided to go back to a more effective multi-vitamin formulated for women.  It costs more but has proved to be much better for my body than the usual store brands.


So happy my scalp is finally clearing up
I also added some supplements to my daily routine like garlic, super B-Complex and vitamin E.  The garlic helped with the shedding and didn't start working right away but I can tell that I am shedding fewer hairs per wash session now.  I would say it took about a 3-4 weeks before it started to make a difference.  The B-Complex contains biotin and I can see that it is helping my nails so hopefully it's doing something for my hair as well.  The Vitamin E is a given because it's known for being good for the skin.  I usually try to take my multi-vitamin on its own  and then the other supplements together at another time during the day.  Both times are with a meal.  I also started drinking Green Tea for the antioxidants and increased my daily water intake.

With the Colorado climate being especially dry right now,  I hope that this regimen will get me through the winter without having anymore problems.  For now,  I'm using shea butter to moisturize my skin and staying away from heavy oils on my scalp to avoid build-up.  I've also started doing more finger detangling instead of using a tool to get rid of shed hairs.  

NOTE:  As with anything health related be sure and speak with a physician when considering adding vitamins and supplements to your daily routine  

Tuesday, November 13, 2012

Jumbo Rake Comb Review


When I was talkin' hair with my mother a couple of months ago she showed me a picture of a comb that she was interested in trying.  She checked out a copy of the book, "The Science of Black Hair" from the library and it listed a "rake" comb as a suggestion for detangling natural hair.  I remembered seeing the comb online (probably in a Youtube video) but didn't exactly know where to track one down.  Recently however, I was at the Big Beauty Supply Store in Aurora, and noticed some for sale.  It was by the Annie brand and was called a "Jumbo Rake Comb".   I figured I would grab it for my mom so she wouldn't have to keep looking for it.  I thought that maybe I would give it a try too and since they were only $1.49 plus tax (USD) I bought two.

Jumbo Rake Comb for only
 $1.49 plus tax!
I didn't really know what to use the comb for because I already felt like I had every comb that I needed.  I decided to use it one night when I was twisting my hair up after wearing it in a wash n' go style.  I was surprised at how well the comb detangled my hair.  It's almost like the front end helped to pull apart the tangles but the spacing toward the back end of the comb allowed my hair to glide right through.  When I saw this I decided to try it the next time I detangled my hair in the shower.

My normal routine for detangling is to do it while my hair is soaking wet and saturated with Tresemme Naturals conditioner.  I usually begin by finger combing my hair first which helps me to remove a lot of the shed hair and tangles before moving onto a comb or my denman brush.  So when I tried the Jumbo Rake comb my hair was already free from any major tangles.  Still, I knew that I would be doing a roller set that night so I needed to make sure my hair was thoroughly detangled beforehand.

My twists
used the rake comb
to detangle

Once again, the comb performed beautifully.  I was really surprised because I didn't expect for it to be any different from my wide tooth comb.  Somehow though having the teeth closer together toward the front and wider in back is what I think makes it a more effective tool for detangling.  It really is able to pick apart at the tangles but the hair glides through.  You'd have to try it to see what I mean.  As for me, I do think that I'll be using this instead of my denman brush because it removed shed hairs but not so many to cause concern.

My Mom's hair sectioned and detangled with
the rake comb
I even tried it a week later when I was straightening my mom's hair.  She is transitioning to natural and has about two inches of new growth.  I applied Paul Mitchell's The Conditioner and a heat protectant to each section of her hair and then detangled with the rake comb.  Her hair was only damp but the comb still did a pretty good job.

I give it a thumbs up and would recommend it to anyone looking for a good comb for detangling.

Friday, September 21, 2012

My Sort-a Kind-a Curly Girl Method

Earlier this summer I mentioned in one of my YouTube videos that I was not a fan of the Curly Girl method (CG) because it seemed to do a number on my scalp.  I have issues with dry scalp off and on throughout the year.  This year it seemed to really flare up when I started this method because of the constant conditioner only washing.  Well, I'm still dealing with it now but have gone back to wearing my hair curly everyday.

Curls Up-close
I'm not following the CG method exactly but I just don't see the point in wearing stretched styles when I know my scalp needs to be cleansed more often.  However, I did learn a few things from Lorraine Massey's book, Curly Girl, the Handbook


There is one step that I learned from the book which helps immensely with my new daily washing/co-washing routine.  It's called a, "pre-cleanse".  With this step you just apply conditioner or sulfate free shampoo prior to getting in the shower to wash your hair (book version).  I altered this method a little because I prefer to apply loads of cheapie conditioner like Suave's Naturals Coconut (my staple) instead of the amount suggested.  I do this in sections and it really helps me to pull out shed hairs and tangles.  It also elongates my hair which is usually shrunken up into a tight curly fro from the day before.

I'm still using sulfate shampoo and my favorite leave-in conditioner (Paul Mitchell's The Conditioner) which has silicones in the ingredients list.  For this reason I can't say that I'm abiding by the "rules" outlined in the book.  Sulfates and Silicones are big no-no's with this method but I make sure to use Apple Cider Vinegar (ACV) rinses to help resolve any issues there.  Not only does the ACV help remove build-up but it also helps my hair to return back to a normal pH after using the shampoo.  This is important because this leaves my hair more manageable by closing the cuticle layer back down.  It also helps with moisture retention.  I love ACV rinses!

My hair is definitely benefitting from all of the moisture it has been getting.  I have been rockin' wash n' gos for six weeks straight and can't really see myself quitting anytime soon.  I usually do my hair at night so I'm not too worried about having wet hair in the mornings when I head out.  Hopefully I will begin to see tons of growth and length retention in the upcoming months.


Sunday, September 2, 2012

Tips on How to Define Type 4 Curls

My hair wet with product
Sometimes I feel like I should be crowned the Wash n' Go queen by now after all of the products and techniques I've experimented with to achieve the curly look.  Washing my hair and just heading out the door is never the case.  I have curls but they are "type 4" curls.  Yes, I'm talking about the hair typing system.  It's not my favorite way to categorize my hair but hopefully it will give others a way to gage whether my techinques will work for them.

My curls are tight corkscrew coils, lazy "s" shapes and everything in between.  I even have a section that laughs at the idea of curl definition.  Oh and let's not forget about the shrinkage.  I would say mine can be up to 75% but it depends on the day.

In order to get my curls to pop, there are certain things that I must do in order to get the definition I want.  Just so you know, I'm usually looking for hair that will last me a few days without feeling drastically dry and brittle.  I'm still looking for a softer hold solution but at least I've got the curl definition part down.

Here are some things that I have learned when styling my own hair
My hair freshly washed and detangled
using a denman brush.
Dry with no product

1.  Start with clean hair

For some this may mean co-washing; for others, shampoo.  I've noticed that I really do get the best results after cleansing my hair.  Otherwise, I end up with so-so results.

2.  Detangle, detangle, detangle

There are times where I skip this step and I always pay for it.  Not only does this cut help to cut down on the time it takes to apply the products but the hair is also way easier to work with.  Whether you're shingling, raking or combing product through remember to start with detangled hair.

3.  Make sure hair is soaking wet

When my hair begins to dry, all of those pretty little curls go poof!  Any curl defining product out there is really just a way to lock your curls into place.  My hair is at it's curliest when it's dripping wet so I start with that.  When sections begin to dry, I make sure to keep a spray bottle handy so I can wake those curls back up.

4.  Work in small sections

We've all seen the videos where someone takes a quarter size amount of product and applies it to all of their waist length hair and voila; curl definition.  Not for our hair texture!  It's best to keep the sections as small as possible so that each and every little curl can get enough product from root to tip.  Sometimes, big hair is desirable but if you want every curl accounted for, using smaller sections is the way to go.

I get lots of curl definition using product
on wet hair
5.  Smooth those ends

After I have completely raked the product through a section, I always go over my ends, using my fingers, to smooth them out.  This will ensure that the curl lays flatter and discourages those stubborn single strand knots.

6.  Once the products are all in, LEAVE IT ALONE!

This is a biggie.  I've done it myself more times than I can count.  Still, you've got to leave your wet hair be until you've got that, dried "cast" that tells you it's okay to touch your curls.  Even if you choose to diffuse, remember not to handle your hair with your fingers because this will cause lots of unwanted frizz.  Simply tilt your head and let your curls drop into the diffuser so that it can do its' thing.

 I hope these tips will help someone out there.  I sure wish I would have known all of this long ago when I first went natural.  Still, I'm pretty happy with my coily creations and that's all that matters.


Wednesday, April 4, 2012

DIY Eco Styler Gel Custard Recipe


After many months of searching for an alternative to Eco Styler Gel, I finally resigned to the fact that it's the only gel that gives the hold and definition my curls crave.  Still, I always got the dreaded dry, crunchy feeling everytime I used it.  I usually apply a leave-in to my wet hair and seal the moisture in with an oil underneath the gel.  No matter what, I kept getting the same result.  After reading through the book, Curly Girl, by Lorraine Massey, I found out that the crunch or "cast" the gel leaves behind is actually a good thing.  This is when you know your curls have been set into place.  I found this to be true because after air drying, I'm usually able to fluff and style my hair without worrying about losing my curl definition.  The book suggests that you scrunch the hair to remove the crunch but I sometimes kept getting a dry feeling after this step.
I figured out that the combination of an oil and a mositurizer underneath the gel gave me much softer hair.  This however led to applying lots of products one by one.  By the time I reached the front sections of my hair it was dry and not as manageable.  I wanted a way to apply the products quicker so I decided to just whip them all together and came up with a nice custard consistency.  I'm realizing that this is a much easier way to apply my products and my curls love it!  

Here's the recipe I came up with


Eco Styler Gel Custard


6 oz. Argan Oil Eco Styler Gel (or fill a 12 oz container half way)
2 Tblsp. Hollywood Beauty Olive Creme Hairdress for Dry Hair*
1 Tblsp. Castor/Coconut Oil Mix**


Place ingredients in a small container.  Whip together until all ingredients are combined.   The mixture will have a pudding like consistency. 


*You can substitute another moisturizer; one that pairs well with Eco Gel
**I use a 50/50 Castor/Coconut oil mix to seal my hair.  For this recipe I just used 1 Tblsp of my pre-mixed oil.

The Application

After cleansing and conditioning, I apply my leave-in conditioner (currently Paul Mitchell's The Conditioner) to my hair while it's still wet.  Next I section my hair into four sections to keep my hair up while I'm styling.  Within each section I make small parts and apply my Eco Gel Custard.  I use a smoothing and raking motion to help give the curls definition.  I've also started sealing the hair with oil after applying the gel custard for an even softer hold but this is optional.  Then, I let it airdry for about an hour or so before I use a blow dryer on the roots.  You can also plop the hair with a T-Shirt to help with the drying time or just continue to air dry.


Final Thoughts

I'm finding that the mixture also works on my edges when I wear my hair up.  I haven't done a braid-out or twist-out with it yet but it looks like it may give good results.   I'm going to continue to play with the recipe but this version seems to work well on my hair which is a 4a/4b texture.  I've also started using it on my son's curly 3b/3c/4a hair and it is also responding well.  The only thing I noticed is that I'm getting a lot more shrinkage because my curls just love the moisture.  To get more hang time I usually just stretch it by pulling it back at night.


Thursday, January 19, 2012

Protective Style: Flat Twist UpDo


I'm finally embracing the idea of protective styling to help me retain more length.  This concept has been so hard for me to grasp because I absolutely love wearing my hair out.  The more time I spend over at K.I.S.S. hair forum the more I see that during the week (Monday thru Friday) there really isn't any need to wear my hair down.  I'm usually shuttling the kids to school, exercising and running errands which does not require a glam look.  Still, when I want to look somewhat put together I just throw my hair up into two large flat twists and I'm good.

Before, I discovered this look I was always wearing two french braids (under hand braiding) or two cornrows (over hand braiding).  Sometimes though I think the braids made me look a little juvenile so for this reason I started wearing the twists
more often.

Flat Twists secured
with a Barret
My process is pretty simple.  I discovered that the flat twists have lots more volume when I allow my hair to air dry first.  Usually after my wash day routine, I apply my leave-ins and just pull my hair back into a braided bun for a whole day until it is mostly dry.  Then I take the hair down so I can apply my moisturizer and seal with grapeseed or olive oil.  After this step, I separate my hair into two large sections, parting down the middle and pin one side up with a clip to keep it out of the way.  I lightly comb out the other side with a wide tooth comb and begin flat twisting from the front of my head all they way to the nape.  I found that the twist looks best when I grab smaller sections for each turn.  After twisting all the way down I let the twist sit for a few minutes because it will gradually loosen a bit and look fuller.  I repeat on the other section.  Once both flat twists have "grown," I take the tail ends and twist them around each other.  I then tuck them at the base of the twists with a bobby pin or barrette.  If I want bangs I just take a small section at the front and do three small two-strand twists.  Then I swoop them and secure the bangs into one of the twists.  If I see any loose points along either twist I just use bobby pins to tighten things up.

I used three small two-strand twists
for a side swooped bang
I enjoy wearing this style because it has the potential to look really glam with a little makeup and some earrings.  This is also an easy style to take down so that I can moisturize and seal my hair whenever it is starting to feel dry.  The best thing is knowing that I'm taking care of my hair by simply keeping it tucked away.

Thursday, November 3, 2011

Henna and Indigo Results

I finally got around to ordering my indigo so that I could cover my burgundy hair color with something a little more modest.  I'm sure the bright red henna'd hair I had before is appealing to some but it was not my cup of tea.  I wasn't quite ready for the lengthy two step process where you henna first, rinse out and then apply indigo for a jet black result.  Instead, I mixed one package of Godrej Nupur Henna (50g) with 100 grams indigo.  I ordered the indigo powder from Butters-n-Bars.com which is the same online store where I get my raw unrefined shea butter.
I kept the henna mix pretty simple as always and just mixed it with a mug of strong green tea to help the dye release.  I added enough water to give the mixture a smooth, almost pancake batter consistency and let it sit overnight.  The next day, when I was ready to apply it, I mixed the indigo into a paste with just plain water and added it to the henna.  I don't add oils anymore because I read that it can slow the dyeing process.  I applied the "Hendigo" to my hair like a clay mask and covered with plastic wrap.  Then I waited for four hours before rinsing and then co-washing several times to get it all out of my hair.

The application took very well to the majority of my hair but left my grey strands with just a tinge of color.  I'm planning on doing another application to the roots and grey hairs sometime this week 'cause I don't need everybody knowin' how old I'm getting.  If my greys are still too obvious afterward I may reconsider dyeing my hair all black with the two step process.

My stubborn grey strands are still noticeable 
I like the reddish brown tone in the sun

Thursday, September 29, 2011

What My Hair Has Been Up To


I know I haven't been posting very much lately but I wanted to share some of the styles that I have been rockin' the last few weeks.  I have actually been wearing my hair straight a little more which I think is coming to an end this week.  At least until I can get my hands on a flat iron that has a heat dial so I can adjust the temperature setting.  My FHI Technique G2 straightens really well but only has one setting...400+ degrees!  I know that a lot of you are thinking why use heat in the first place?  I know, it can be damaging but, I'm one of those Naturals who likes to use it occasionally.  Anywhoo, enough of the straight talk and on to the pics. . . Enjoy!

Corkscrew Braid Out
at the Denver Art Museum

Flat Twist Up Do
My current favorite during the week
to keep my hair protected

Corkscrew Braid Out
with Satin Scarf Headband
with Eco Styler Gel on my edges
Corkscrew Braid Out
Back View

Straight Hair in August just
before Trim

Wash n' Go at City Park

Tuesday, August 9, 2011

Semi Permanent Color Over Henna


My Henna'd Hair in the Sun

As you can see from the title, I have finally decided that I'm going to attempt to cover my currently burgundy hair with a Semi-Permanent rinse.  When I started using henna I mixed it with Indigo in order to get a brunette effect.  I was never really successful but continued to use henna each month for the past year or so.  Although, I love the benefits from using henna, I never really intended for my hair to end up so red.  We're talkin' Rhianna type red in the sunlight at this point. 

I've been debating this for a few months now.  Originally I decided that I would just order more indigo and do a two step henna/indigo process.  This is where you apply the henna like normal and after rinsing it completely, apply the indigo for another 30 minutes to an hour and rinse.  The result is Jet black hair and it is permanent.  I know from past efforts that black hair does not look so hot against my skin tone.  Somehow it makes my face look really red and I always have trouble adjusting my makeup palette to suit the black hair color.  Because of this, the darkest I can go is a dark brown. 


For this reason, I decided to go with Clairol's Beautiful Collection in the color Darkest Brown which has a neutral base.  It is a formula that does not contain ammonia or peroxide.  I've read over on NaturalSunshine.ning.com that the Clairol line is pretty much the only one considered gentle enough for Natural hair.  I'm going this route because I figure the color result will be more predictable than trying to mix henna and indigo for the color I want.  The only thing I'm concerned about at this point is the Isopropyl Alcohol which can be drying.  I'm going to make sure and do a moisturizing deep conditioning treatment after rinsing the product and then do an ACV rinse to close down the hair cuticles.  I'll post pictures after the application and do a review.

Sunday, June 26, 2011

Denver Natural Hair Meet-Up: The Re-Cap

Me and Sabrina Perkins of
SeriouslyNatural.org
I'm winding down and letting my feet rest after all of the days' activities.  There were plenty of things to do today before the meet-up downtown but we managed to pull it off.  The great thing about all of this is that Sabrina (of SeriouslyNatural.org) and I have lots of ideas for the next event.  Getting ready for tonight was like opening up a whole new world of possibilities.  We met lots of great contacts and found support from places we didn't know were there. 

The Rio Grande Mexican Grille served up some excellent strawberry margaritas and mexican dishes.   Thanks to the friendly staff who were also very accomodating, we had an enjoyable evening.  A big thanks to everyone who came out to our first event.  It was really great to get a chance to speak with everyone and share our tips and experiences.

Rio Grande Mexican Grille
in Downtown Denver


Hair talk and good food
 

Me with Shanae Smith and Ayanna Blueford
Loved talking with you ladies


Goodie bags with free samples
Thanks to all of the businesses that offered items for our gift bags including:  
Kinky Curly
Curlformers
Sephora Shops at Cherry Creek Mall and Northlands

Giveaway Prizes
(Carol's Daughter & Ojon Samples) More Than Curly Salon in Aurora (Ouidad Samples)


We look forward to doing it all again in the future so be sure to email either Sabrina or myself if you would like to receive info on upcoming events.


LinkWithin

Related Posts with Thumbnails